


Price: $17.99 - $16.79
(as of Apr 15, 2025 05:56:10 UTC - Details)
The Best Headlight Restoration Kit: A Comprehensive Review
Introduction
Are your car's headlights looking dull and yellowed? If so, you're not alone. Many car owners face this issue, and it can significantly impact visibility while driving at night. That's where the best headlight restoration kit comes in. Not only do these kits help restore clarity to your headlights, but they also enhance the overall appearance of your vehicle. In this article, we’ll dive deep into the world of headlight restoration kits, exploring what makes them effective, how to choose the right one, and tips for achieving the best results. Whether you're a DIY enthusiast or someone looking to save money on professional detailing, this guide will provide you with all the information you need.
Understanding Headlight Restoration Kits
What is a Headlight Restoration Kit?
A headlight restoration kit is a collection of tools and products designed to remove oxidation and restore clarity to your vehicle's headlights. Over time, headlights can become cloudy due to UV exposure, dirt, and grime. A good kit typically includes sanding pads, polishing compounds, and protective sealants. By using these products, you can restore your headlights to their original condition without the need for costly replacements.
Why You Need the Best Headlight Restoration Kit
Investing in the best headlight restoration kit not only improves visibility but also enhances safety. Clear headlights allow for better illumination of the road ahead, reducing the risk of accidents in low-light conditions. Moreover, restored headlights can increase the resale value of your car. Buyers often shy away from vehicles with foggy headlights, so keeping them in top condition is crucial.
Choosing the Right Headlight Restoration Kit
Factors to Consider When Selecting a Kit
When searching for the best headlight restoration kit, there are several factors to keep in mind. First, look for a kit that includes all necessary components for a complete restoration. This typically includes sanding pads of varying grits, a polishing compound, and a protective sealant. Additionally, consider the ease of use; some kits come with detailed instructions, making the process smoother for beginners.
Customer Reviews and Ratings
Another critical aspect to consider is customer feedback. Reviews can provide insight into how effective a kit is and whether it lives up to its claims. Look for products with high ratings and positive testimonials. Customers often share their before-and-after photos, which can be incredibly helpful in deciding which kit to purchase.
Step-by-Step Guide to Headlight Restoration
Preparing Your Headlights
Before diving into the restoration process, it’s essential to prepare your headlights. Start by cleaning them with soap and water to remove any surface dirt and grime. This initial step helps ensure that the restoration products adhere properly. After cleaning, dry the headlights thoroughly with a microfiber cloth to avoid any water spots.
Using the Sanding Pads
The sanding pads are a critical component of the restoration process. Begin with the coarsest pad to remove the oxidation layer. It’s crucial to keep the pad wet while sanding to minimize scratches. Sand in a circular motion, covering the entire surface of the headlight. After using the coarse pad, switch to a finer grit to smooth out any scratches left behind. This two-step sanding process helps create a clear surface for polishing.
Polishing the Headlights
Once you've finished sanding, it’s time to polish the headlights. Apply a small amount of polishing compound to a clean cloth and work it into the headlight in circular motions. This step not only restores clarity but also adds a protective layer. Make sure to cover the entire surface evenly. After polishing, wipe away any excess compound with a clean microfiber cloth to prevent streaks.
Applying the Protective Sealant
The final step in the restoration process is applying a protective sealant. This product helps shield your headlights from UV rays and environmental contaminants, prolonging the clarity achieved during restoration. Follow the manufacturer's instructions for application, and be sure to let it cure for the recommended time before exposing your headlights to moisture or dirt.
Maintaining Your Restored Headlights
Regular Cleaning and Maintenance
To keep your headlights in top condition after restoration, regular cleaning is essential. Use a mild soap and water solution to clean them periodically. Avoid using abrasive materials that could scratch the surface. A quick wipe-down can prevent the buildup of dirt and grime that can lead to oxidation.
Reapplying Sealant
Depending on your environment, you may need to reapply the protective sealant every six months to a year. This will help maintain the clarity of your headlights and keep them looking new. Always follow the manufacturer's recommendations for the best results.
Common Mistakes to Avoid
Skipping the Preparation Step
One of the most common mistakes people make is skipping the preparation step. Cleaning the headlights thoroughly is crucial for ensuring that the restoration products work effectively. Failing to do so can lead to subpar results.
Not Following Instructions
Each headlight restoration kit comes with its own set of instructions. Ignoring these guidelines can result in uneven restoration or damage to your headlights. Always take the time to read and understand the instructions before starting the process.
Over-Sanding
While sanding is a necessary step, over-sanding can cause more harm than good. It’s important to use the appropriate grit pads and to be gentle during the process. Excessive sanding can create deep scratches that may be difficult to polish out.
Conclusion
In summary, investing in the best headlight restoration kit can significantly improve the clarity and safety of your vehicle's headlights. By understanding what to look for in a kit, following proper restoration techniques, and maintaining your headlights, you can enjoy clear visibility on the road for years to come. Don’t let dull, yellowed headlights compromise your safety; take action today and restore your headlights to their former glory!
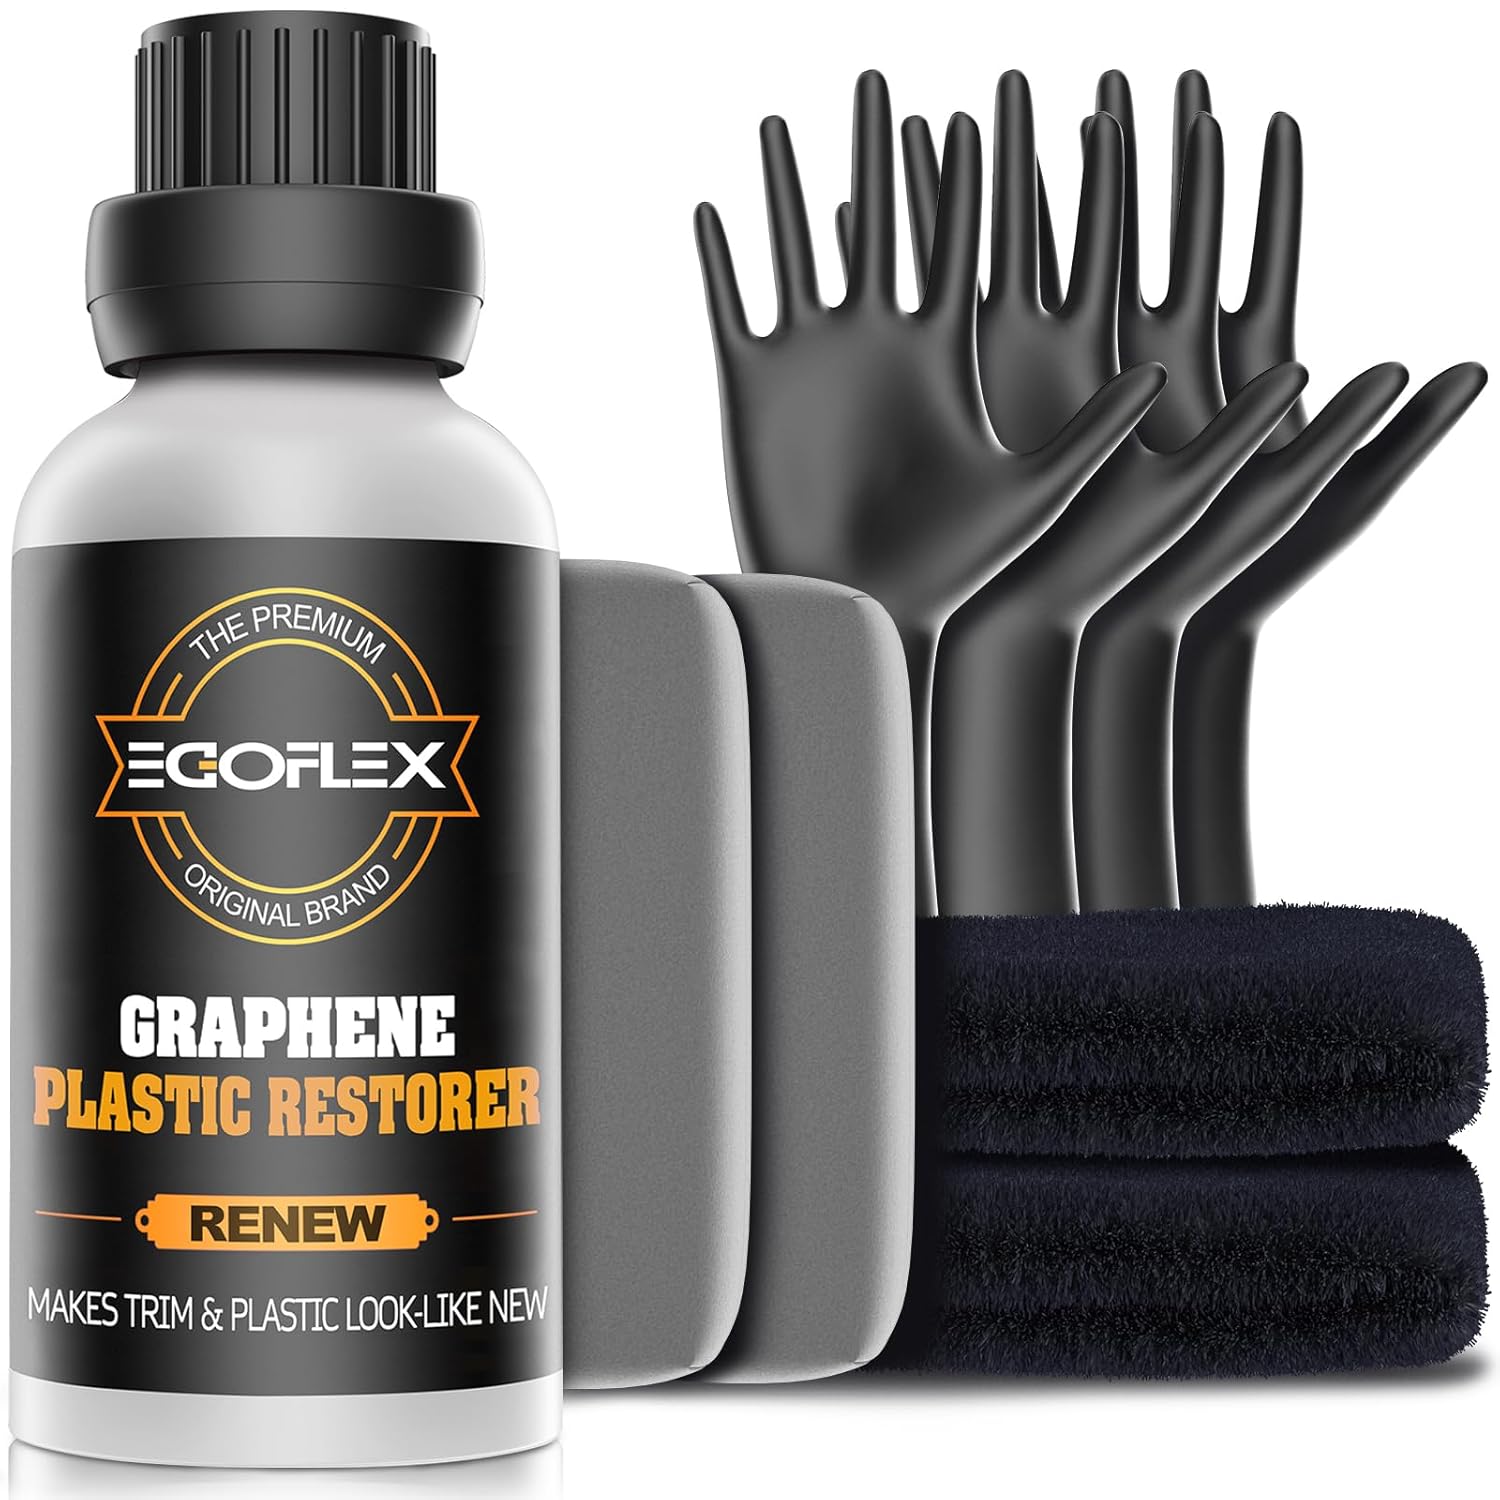
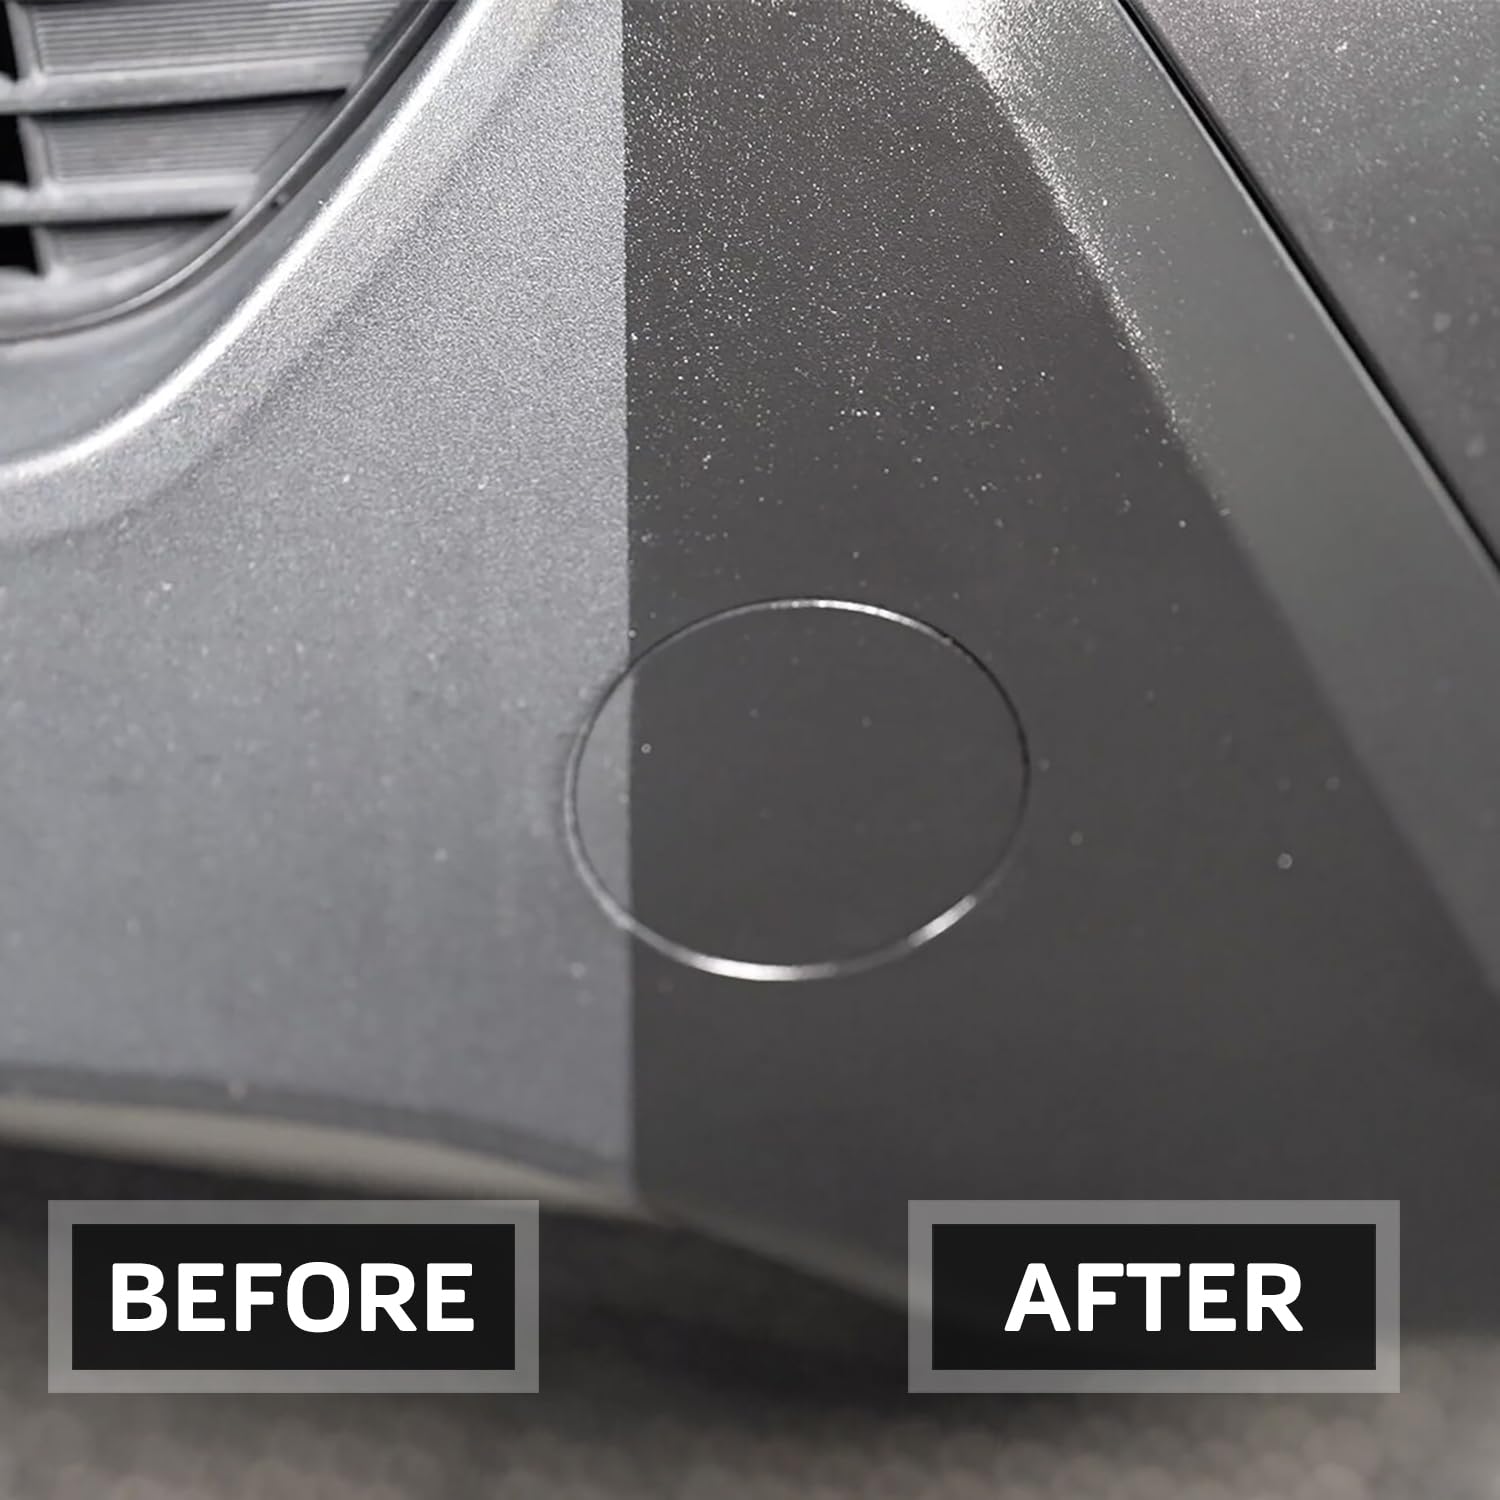
Car Trim Restorer DIY Detail Friendly: Our Graphene Plastic Restorer is designed for easy use, making it perfect for all your DIY detail projects. It's the ideal solution to restore a finish to its original luster.
Black Trim Restorer: With its advanced formula, this restorer also doubles as a black trim restorer, bringing back to black plastic restorer, giving your car a professional crystal coating finish.
Trim Restorer Automotive: This product not only restores but actively protects with its graphene ceramic coating. It works as a car plastic restorer black and also as a black spray paint for plastic.
Quick Shine and Plastic Polish: For a quick shine, this plastic restorer offers an easy-to-use solution. It also works as a plastic polish, and restaurador de plásticos para auto, for a comprehensive care for your car.
Ultimate Headlight Clear Coat: Apart from restoring plastic, the product is also a ceramic coating applicator and a headlight clear coat. This ensures your car headlights remain clear and bright for safe driving.